
All blogs
Mobile App Development
AI Lighting Estimation for Mobile AR: How It Works
Validate, convert, and smooth camera-based light direction, color, and brightness to match virtual objects in mobile AR.
5 min read
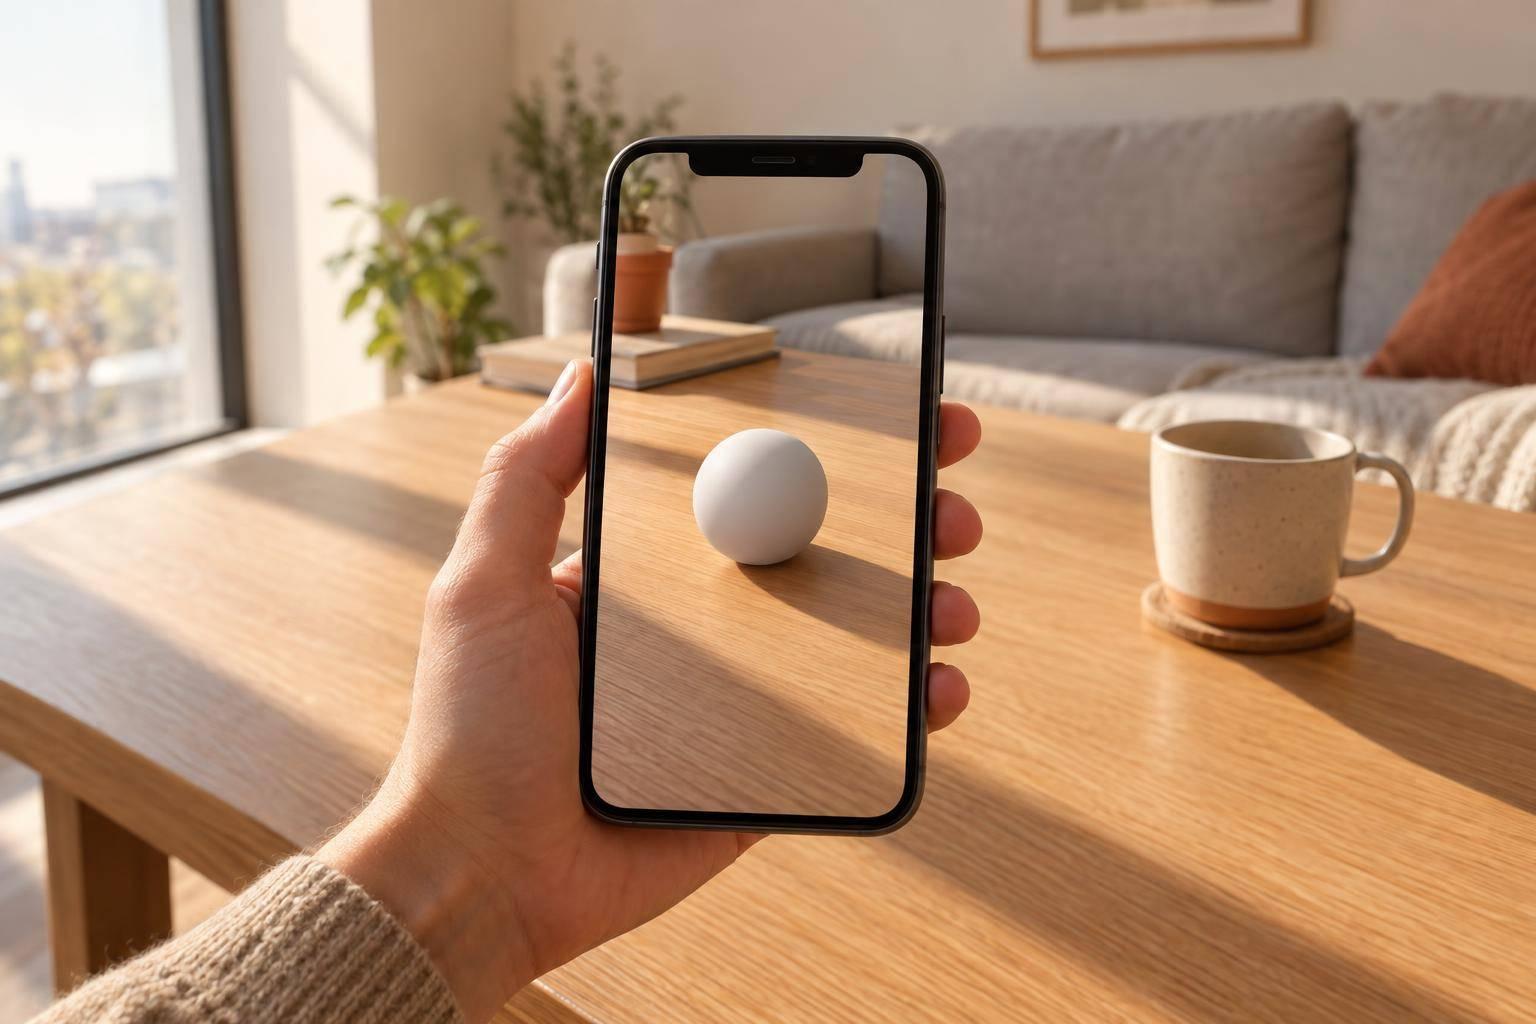
AI Lighting Estimation for Mobile AR: How It Works
AI lighting estimation helps virtual objects match the light in your camera feed. I start with 1 anchored object and use supported estimates of brightness, color, and direction to drive its shading.
My approach is simple:
- Check and convert the data for the renderer’s units, color space, and coordinates.
- Smooth updates to reduce flicker without making lighting lag.
- Use fallback lighting when estimates stop, then blend valid updates back in.
- Test the finished view on target phones for lighting errors, heat, and frame time.
My rule: <u>fix lighting and placement separately</u>. Better lighting won’t stop drift or repair missing occlusion, weak materials, or poor contact shadows.
Increasing AR Realism with Lighting (Google I/O'19)
sbb-itb-622dc24
How AI Estimates Light Direction, Color, and Brightness
AI uses camera frames to estimate lighting, then builds a simplified model for rendering.
Find Lighting Cues in Camera Frames
AI reads visual cues in each frame to estimate the scene’s lighting. This helps virtual objects match the camera footage. Treat the result as an estimate, not a measurement.
Turn Image Cues Into Lighting Data
Map the camera-based estimate to renderer inputs for direction, color, and brightness. Follow the documented output format, and use cautious fallback handling. Smooth the mapped values before applying them from frame to frame.
Smooth Lighting Changes Across Frames
Smooth lighting estimates across frames to reduce flicker, but use only as much smoothing as needed. Too much filtering makes virtual lighting lag behind changes in the scene.
Set Up Lighting Estimation and Rendering
Once the model produces direction, color, and brightness, connect those values to a basic render setup. Start with one anchored object and a PBR material with moderate roughness. Enable a light-estimation mode that the target device supports.
Configure the AR Session and Read Lighting Data
Check which lighting features the device supports. Then enable per-frame lighting estimation in your AR framework and read the estimates for each frame.
Validate and Convert Estimates for Rendering
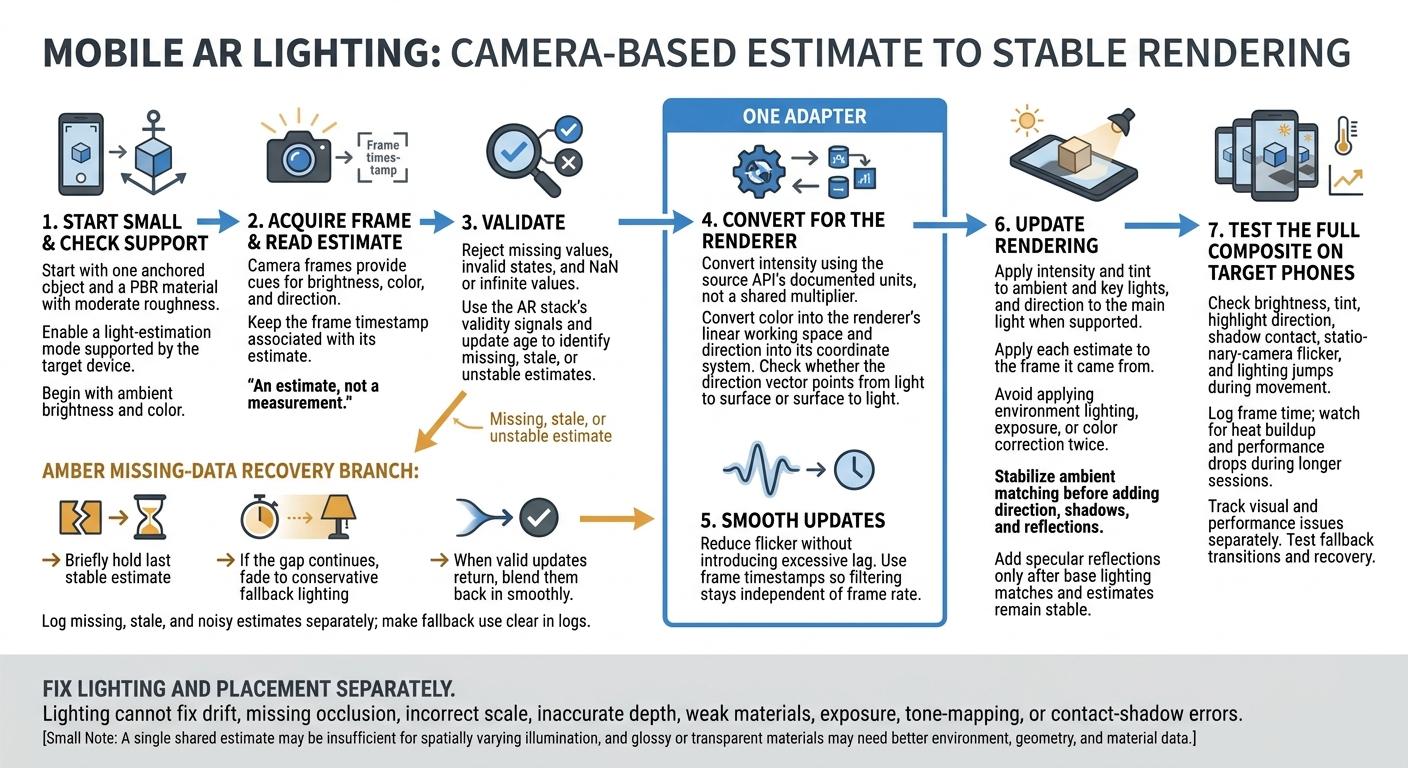
Before updating lights, reject missing values, invalid states, and NaN or infinite values. Convert intensity using the source API’s documented units, not a shared multiplier across platforms.
Convert color into the renderer’s linear working space and direction into its coordinate system. Check whether the direction vector points from light to surface or surface to light.
Pass the estimate to the renderer only after validation.
acquire frame → read estimate → validate
→ convert units, color, and coordinates → smooth → update renderer
Keep conversion and smoothing in one adapter. When data is unavailable, retain the previous valid values or use a controlled fallback. Use frame timestamps when filtering so the behavior stays independent of frame rate.
Apply Lighting to Shading, Shadows, and Reflections
Apply intensity and tint to the ambient and key lights, and direction to the main light. These values should make the object’s shading respond to the real scene.
Apply each estimate to the frame it came from. Avoid applying environment lighting, exposure, or color correction twice. Add specular reflections only after the base lighting matches the camera feed and the estimates remain stable across frames.
Test Visual Quality and Handle Missing Data
Test Lighting Changes on Target Phones
Once the estimates drive the renderer, check the full composite - not just the estimate - on each target phone. Look at brightness, tint, highlight direction, shadow contact, flicker when the camera is still, and lighting jumps as it moves.
Log frame time alongside these visual checks. During longer sessions, watch for heat buildup and performance drops. Track visual and performance issues separately, then use the results to pinpoint the source: the estimate, the renderer, or the device.
Use Fallbacks for Missing or Unstable Estimates
Use the AR stack’s validity signals and update age to detect missing, stale, or unstable estimates. If updates stop, briefly hold the last stable estimate. If the gap continues, fade to conservative fallback lighting. Blend valid updates back in smoothly when they return.
Log missing, stale, and noisy estimates separately. Make fallback use clear in the logs so unstable data doesn’t get mistaken for a hard dropout.
Know What Lighting Cannot Fix
Lighting alone can’t fix incorrect scale, inaccurate depth, exposure, tone-mapping, or contact-shadow errors. Handle each of these separately.
A floating object usually needs a placement or shadow fix - not darker lighting. When illumination changes or varies across a scene, a single shared estimate may be too simple. Glossy or transparent materials may also need better environment, geometry, and material data to match the camera feed. Treat these as separate pipeline fixes, not lighting fixes.
Conclusion: Build and Test the Lighting Pipeline
Start with ambient brightness and color. Enable the estimates your device supports, validate each value, and convert it for your renderer. Smooth updates before applying them. Wait until ambient matching is stable before adding direction, shadows, and reflections.
Once the pipeline is stable, test the full composite on target phones before release. Include fallback transitions and recovery in your tests.
FAQs
How accurate is AR lighting estimation in low light?
AR lighting estimation becomes less accurate in low light. These systems use camera frames to estimate light direction, color, and brightness. When there isn’t enough light, they have less visual information to work with. Errors in those estimates can make virtual objects look out of place in the physical scene.
AI-powered scene understanding keeps improving, but very low light still poses a major challenge for realistic AR rendering.
How much lighting smoothing should I use?
Use enough lighting smoothing to prevent jittery shadows or sudden color shifts when lighting changes. The right amount depends on your use case. Too much smoothing can make virtual objects look disconnected from their surroundings.
Balance stability with responsiveness so objects stay grounded as the light changes. Test across different settings to check that transitions look smooth and natural.
When does my AR scene need local lighting estimates?
Your AR scene needs local lighting estimates to make virtual objects look natural as lighting changes around them. AI analyzes camera frames to estimate light direction, color, and intensity. These estimates help virtual objects match the surrounding light, shadows, and highlights. Without them, objects can look disconnected from their physical surroundings.
More from the studio