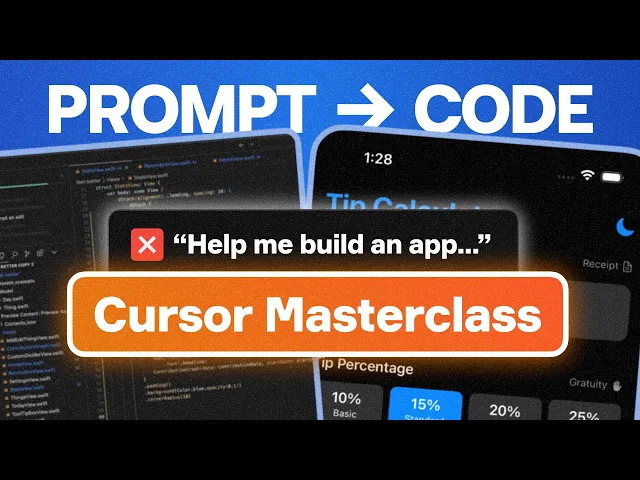

Innovation in mobile app development has reached new heights with the introduction of artificial intelligence (AI). For entrepreneurs, startups, and small businesses, leveraging AI simplifies app development and significantly reduces the need for deep coding expertise. In this article, we’ll provide a step-by-step guide to creating an iOS app using AI, as detailed in a transformative tutorial on harnessing AI tools like Cursor. Whether you’re building an app for iOS, testing ideas, or crafting solutions to enhance your business, this guide will help you navigate the process effectively.
Why Use AI for App Development?
AI-powered development offers incredible advantages, particularly for businesses working on new projects or small-scale applications. Here are some scenarios where AI proves invaluable:
Prototyping Big Ideas: You can quickly create a small prototype of your vision and test its viability before making further investments.
Simple Utility Apps: For apps like calculators, organizers, or niche-specific tools, AI can streamline development.
Reducing Costs and Time: AI enables entrepreneurs to develop apps without hiring large technical teams, saving costs and allowing rapid iterations.
However, AI development may not be ideal for large, complex legacy projects or those dealing with sensitive proprietary systems. The reason? AI models work within a limited "context window" and may struggle to process intricate existing projects or highly customized systems.
What You’ll Learn in This Guide
When to use AI in app development and how to be cautious.
Essential tools and software to start building apps with AI.
How to set up your project for seamless collaboration between AI and traditional tools.
Step-by-step instructions to build your app and test it effectively.
How to design and refine your app using AI tools for UI/UX.
Step 1: Setting Up Tools for iOS App Development with AI
Before jumping into development, it’s crucial to gather the necessary tools. Here’s what you’ll need:
1. Hardware: A Mac Computer
Apple’s Xcode, the official development tool for iOS, runs exclusively on macOS.
Options if you don’t own a Mac:
Borrow from friends, libraries, or universities.
Rent online access to a virtual Mac through services like MacStadium.
Buy a refurbished Mac (preferably no older than two years).
2. Software: Xcode and Cursor

Xcode: The official development environment provided by Apple for building, testing, and submitting iOS apps.
Download via the App Store.
Ensure all necessary components are installed upon launch.
Cursor: An AI-powered Integrated Development Environment (IDE) for generating and troubleshooting code.
3. Extensions and Plugins
To optimize Cursor for iOS development:
Install the Swift Language Support extension for coding assistance.
Add plugins like Sweetpad to streamline app-building processes directly in Cursor.
Use Homebrew to manage additional tools like
xcbeautify(for readable output) andswiftformat(to format code for clarity).
Step 2: Creating Your First iOS App with AI
1. Starting the Project
Use Xcode to create a new iOS app project.
Set the interface to SwiftUI and the language to Swift.
Open the project in Cursor to begin generating code.
2. Building Step-by-Step with AI
The key to successful AI app development is breaking the project into manageable steps. Here’s the process:
Define Requirements: Create a step-by-step plan in a markdown file (e.g.,
instructions.md) that outlines your app’s features and layout.Add Context: Give Cursor access to specific files or project components to focus its AI capabilities.
Create UI Components: Begin with the app’s visual structure - buttons, text fields, labels, and screens.
Implement Functionality: For example, add logic for calculations or actions triggered by user interactions.
Test in the iOS Simulator: Run the app on a virtual iPhone to verify functionality and design.
Iterate and Debug: If issues arise, use the AI assistant to troubleshoot and resolve errors.
3. Tips for Problem-Solving
Error Resolution: If your app fails to compile, use Cursor’s AI assistant to analyze error messages and suggest fixes.
Version Control: Save your progress after each successful build step by creating a copy of your project folder. For more advanced users, consider using GitHub for version control.
Step 3: Designing Your App with AI
Aesthetics are as important as functionality when creating an app. Here’s how to design a professional-looking interface using AI:
1. Generate a Design with AI
Use tools like UX Pilot to create high-fidelity designs for your app.
Provide design context by referencing visual inspiration (e.g., screenshots from other apps) or describing the desired style (e.g., "modern, minimalistic, user-friendly").
2. Integrate Designs into Cursor
Save the generated design as an image.
Attach the design file to your project in Cursor and prompt the AI to adjust the app’s layout to match the design.
Iterate by refining individual elements (e.g., font sizes, button colors) with AI assistance.
3. Testing UI/UX
Run the app in the iOS simulator and review the visual output.
If issues (e.g., misalignment or overlapping elements) occur, provide screenshots for AI to reference and correct.
Step 4: Testing and Refining Your App
Testing is critical to ensure your app is functional and user-friendly. Follow these steps:
Use the iOS Simulator: Test the app's functionality on various simulated iPhone models to ensure compatibility.
Troubleshoot User Flows: Check for smooth navigation, correct calculations, and logical screen transitions.
Handle Edge Cases: For example, test what happens when users enter unusual values (e.g., zero or negative numbers).
If bugs or errors persist, you can roll back to a previous version of your app or refine the code manually.
Key Takeaways
AI Simplifies App Development: Even non-developers can create functional iOS apps using tools like Cursor.
Start Small: Focus on creating small, manageable prototypes to test ideas quickly.
Equip Yourself Properly: Use a Mac, Xcode, Cursor, and essential plugins like Sweetpad to start building iOS apps.
Iterate Step-by-Step: Break down the development process into clear steps. Test and refine after each stage.
Design Matters: Utilize AI tools like UX Pilot to create visually appealing designs that enhance user experience.
Be Prepared for Debugging: Errors are inevitable - use AI to troubleshoot or manually revert to stable versions of your app.
Be Clear in Your Prompts: Detailed and specific instructions yield better results when working with AI.
Conclusion
Artificial intelligence has revolutionized app creation, making it accessible to entrepreneurs and small businesses. By understanding when and how to use AI, you can save time, reduce costs, and bring your ideas to life with minimal technical expertise. With the steps outlined above, you’re equipped to create and refine your own iOS apps, opening up new opportunities for business growth and digital innovation.
Dive into the world of AI-powered development today and start building your vision from scratch. The possibilities are endless when technology meets creativity. Happy building!
Source: "How to Build an App with AI using Cursor - (FULL TUTORIAL)" - CodeWithChris, YouTube, Sep 3, 2025 - https://www.youtube.com/watch?v=U1Lvdt8X4q8
Use: Embedded for reference. Brief quotes used for commentary/review.


